Aiptek V2T6 User Manual
Browse online or download User Manual for Camcorders Aiptek V2T6. AIPTEK V2T6 User Manual
- Page / 15
- Table of contents
- BOOKMARKS
- FCC Compliance Statement: 2
- Welcome: 2
- Safety Notice: 2
- Getting Started 3
- Installing the battery 4
- Charging the battery 4
- Turning on/off your camcorder 4
- Setting language 5
- Reading LCD indicators 5
- Basic Operations 6
- Playing back your recordings 7
- Recording a voice clip 7
- Installing software 8
- Play MP3 music 9
- Advanced Operations 10
- Menu items in My Works mode 11
- Menu items in Setting mode 12
- Appendix 13
- 82-481-90010v1.0 15
Summary of Contents
8Menu operationThe menu items provide several options for you to ne-tune your camera functions. The following table gives details on menu operations.
9Menu items in My Works modePower-on → Press the MODE button → Use the Zoom button to switch to My Works mode → Select Video, Picture or Voice folder→
10Menu items in Setting modePower-on → Press the MODE button → Select the Setting mode → Press the OK button.Item Option DescriptionDate & Time -S
11Still picture Video clipNumber of shots Recording time (minute)200 90* shoot every 30 seconds** ash is off*** resolution is set to 3M (2048x1536)*
12Storage CapacityMemoryVideo (min.) Still pictureHD 60f HD 30fWVGA 60fQVGA 30f8M 5M 3MSD card (1GB) 15 30 30 160 380 580 920SD card (2GB) 30 60 60 32
82-481-90010v1.0
FCC Compliance Statement:This device complies with Part 15 of the FCC Rules. Operation is subjected to the following two conditions: (1) this device m
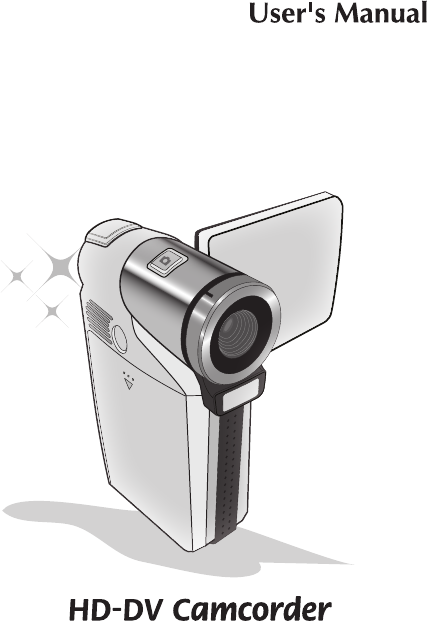
1Getting StartedKnowing your camcorder partsBottom viewTripod socketStrap holderAV OUT connector /EarphoneUSB connectorHD OUT Mode/Return ( ) buttonMe
2To insert a memory card, do the following:(1) Open the battery cover. (2) Gently push the card as indicated until the card reaches the bottom of the
3Setting language1. Power on the camcorder.2. Press the MODE key to enter the MODE menu.3. Use the Zoom button to select the Setting mode and press OK
44Recording a video clip / Taking a still picture1. Set the focus to an appropriate setting. Normally, you may set the focus to ( ) for most lming
55Playing back your recordings1. Press the MODE button and use the Zoom button to switch to “My Works” mode.2. There are three folders below My Works
66Playing back your recordings on PC Installing softwarePlease notice that the recorded videos are .mov format. So you need some special programs to v
77 Connecting the camcorder to HDTV1. Turn on your HD TV. 2. Turn on the Camcorder.3. Plug one end of the component video cable into the (Component V
Related products and manuals for Camcorders Aiptek V2T6
 (37 pages)


 (160 pages)
(19 pages)
(40 pages)
(2 pages)
(2 pages)
(46 pages)
(192 pages)
(64 pages)
(160 pages)
(19 pages)
(40 pages)
(2 pages)
(2 pages)
(46 pages)
(192 pages)
(64 pages)
© 2020, manymanuals.com. All rights reserved. | 0.922 s |
 Manymanuals.com
 Manymanuals.de
 Manymanuals.fr
 Manymanuals.it
 Manymanuals.pl
 Manymanuals.cz
 Manymanuals.es
 Manymanuals-pt.com
Comments to this Manuals